Lighting is at the heart of every image. Quality lighting in a video in many cases truly separates an excellent video from an average one. Lighting sources can consist of natural, practical (existing artificial), and continuous artificial sources.
Although surprising to some, there is little to no math involved in lighting for video.
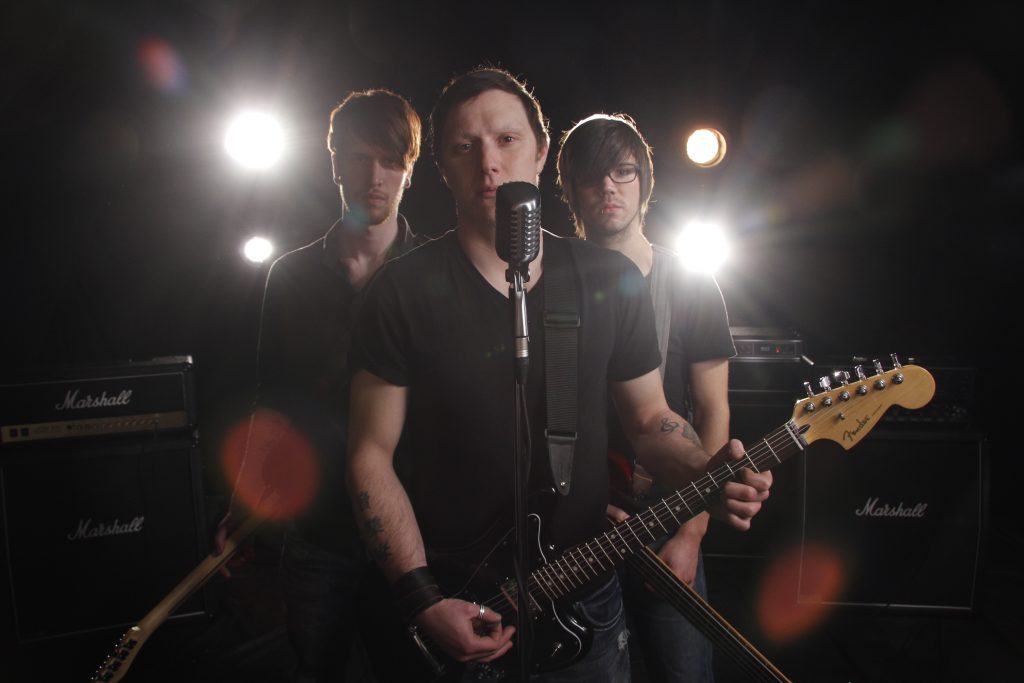
Getting Started with Professional Lighting
There are simply terms, recommended techniques, and ratios, which one should only consider as starting points. Lighting is furthermore both a technical skill and an art combined (as is videography).
The technical art of lighting is something that takes years to master, and is a subject in which you are always learning and improving your skills. The most effective method of gaining and maintaining your lighting knowledge is hands-on experimentation with your choice of lighting equipment.
Lighting is as Much Art as it is Science
First of all, every videographer who is interested in lighting should know that there is no correct way to light something! The way in which the lighting is created for our video is dependent on a number of factors. These factors can include: your subject, personal choice/style, end product, medium, camera, dynamic range, lighting equipment available, desired contrast, desired colours, and desired mood etc.
Having the latest and greatest gear in the field of lighting is not really necessary, as gear is simply a tool that must be used correctly. Furthermore, every subject and human being that you shoot is unique, and therefore one cannot apply a generic lighting set-up to each subject. Every frame deserves proper light modeling to create the best image. The greatest compliment any videographer can receive is “Wow! You didn’t even have to light anything,” when if fact you did, as the lighting is not noticeable.
There are a few general lighting theories that every videographer should comprehend.
1. The larger the source the softer the light.
For example, a light bounced off ceiling or wall will give you a much softer and larger source than a light pointed directly at your subject.
2. When you diffuse light (spread it out), you lose intensity.
If the light was bounced off the ceiling, we would lose a considerable amount of intensity from the light, than if we were to use the speed light directly.
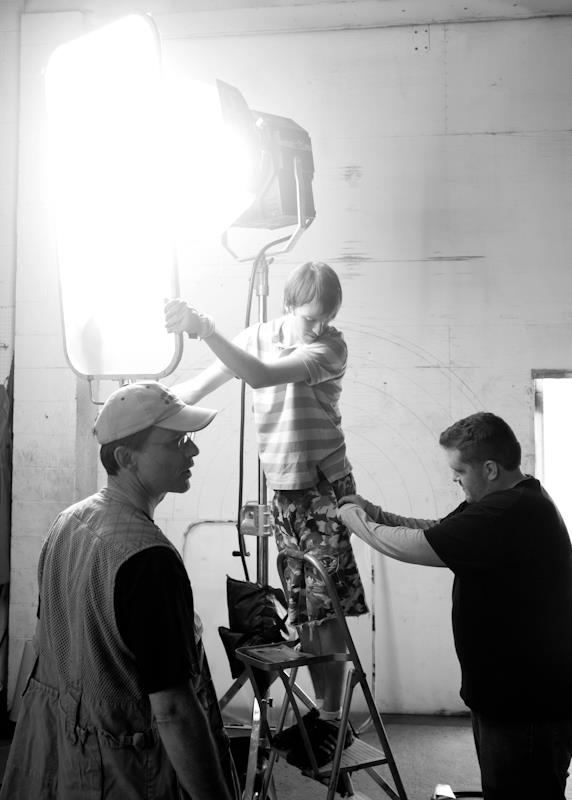
3. Get your lights up high!
Lighting is both an art of illumination and shadows. Typically one desires to be rid of shadows in many circumstances. Placing your lights above the subject, and to one side may allow the shadows to fall on the floor or on the wall out of the shot.
4. Women tend to photograph better with soft light.
And men tend photograph with either hard or soft light.
5. Cameras need a lot of light.
It is always better to shoot at a lower ISO than a higher one. Although modern cameras are capable of shooting in very low light, it doesn’t mean that you should. Some videographers may argue that you don’t need lights anymore, but this is simply untrue. Although you can now shoot in darker places, the light is rarely flattering, it forces you to boost your ISO, and typically does not create the desired style.
3-Point and 4-Point Lighting Setups
Three-and four-point lighting will be our next focus, as these set-ups help us to understand some of the basic terms associated with lighting. While these lighting set-ups are a good place to begin your journey into the world of lighting experimentation, one must remember that they originate from broadcast Interviews. Three-point lighting in my opinion, could be compared to teaching somebody how to paint using one average and bland style. You can begin your journey into becoming a painter while learning the basics through instruction, but you must create your own style and experiment to be successful.
The Three-Point Lighting Setup
Three-point lighting features 3 lighting sources, and is typically used in corporate videos, and as mentioned, broadcast interviews. Lighting sources in three-point lighting can consist of any type of equipment whether the lighting comes from pratical, continuous, or natural sources.
The Key Light
The first and only essential light in three-point lighting is the key light. The key light is the light that we set our camera’s exposure to. The camera is set to the exposure of this light by using a hand-held meter to measure incident light falling on the subject, by using an in-camera meter, or by eye. The key light is typically set at 45 degrees to the left or right of the subject, and at a height that can strike the subject at a 45 degree downwards angle.
The Fill Light
The second light in three-point lighting is the fill light. It is important to note that the fill light is optional, and simply can consist of a bounce board to achieve the desired contrast ratio. The purpose of the fill light is to fill in any shadows on the subject’s face created by the key light. It is typical to set the fill light slightly off centre to the subject favouring the side opposite to the key light. The fill light is set at the same height as the subject (90 degrees to the subject), and is set at the same or less intensity than the key light.
We can compare the fill light to key light to determine our contrast ratio. In a low contrast or “high key” situation, the fill light is near or equal in intensity to the key light. Typically, there would be an intensity difference between the two lights of 0-2 f-stops (1:1 to 1:4) in a high key situation. A “low key” lighting ratio produces a look with much higher contrast. Typical lighting differences in a low-key scenario would be 3-6 f-stops (1:8 to 1:64).
The Back Light
The final light in three-point lighting is the back-light (also referred to the rim or hair light). Once again, this light is optional. The back-light aids greatly in quality lighting by separating the subject from the background. The back-light is set at a 45-degree angle diagonally opposite to the key light, pointing back at the subject, and at a 45-degree angle downwards. The back-light is typically set at the same intensity or brighter than the key light.
The Fourth and Final Light
Finally, four-point lighting simply adds the addition of a background light. The background light is used to illuminate the background if such a light is required. Once again this light is optional, and the background light is set at the same or less intensity as the key light
 In conclusion, it is up to the videographer to define their own unique lighting style. Start by learning with the sun which is the most affordable tool, and then venture into the world of artificial lighting at your own pace. Experiment with different types of lighting sources, diffusion, bounces, colours, and set-ups to determine your personal preferences.
Next Steps
Remember that the technical art of lighting is a life long journey and that you are always learning, improving, and mastering your skills. Lastly, do not be afraid to learn from others as they may offer a different point of view or technique that you may have not envisioned otherwise.